InfiniteTalk Video2Video: Guide to Animating Characters
InfiniteTalk Video2Video is a powerful tool that allows you to take existing videos and animate characters within them to speak, syncing their lips perfectly with your audio input. This guide will walk you through everything you need to know, step-by-step, to create realistic talking character videos from your existing footage.
Introduction to InfiniteTalk Video2Video
The Video2Video method has become highly popular because of its ability to take any video and transform the character into a talking figure. The process involves animating the character's lips and facial expressions so they sync perfectly with a voice-over or script.
I've tested this method extensively and in this guide, I'll walk you through the exact process I used. By the end, you'll understand how to run this workflow effectively.
How Video2Video Works
Video2Video works by combining two main elements:
- Original Video Footage – The input video containing the character or model.
- Audio Input or Script – The audio or text you want the character to speak.
The system detects the character's face, tracks their movements frame-by-frame, and then animates their lips and facial expressions to match the speech.
Even if the character turns their head or moves around, the animation stays consistent. This is especially useful for:
- Commercial Ads
- E-commerce product videos
- Narrative storytelling
- Social media content
Realistic Lip Syncing
When you run InfiniteTalk Video2Video, it doesn't just animate the lips. It also generates other subtle details such as:
- Wrinkles on the face while speaking
- Eye blinks
- Smooth head movements
- Frame-by-frame syncing of audio to lip motion
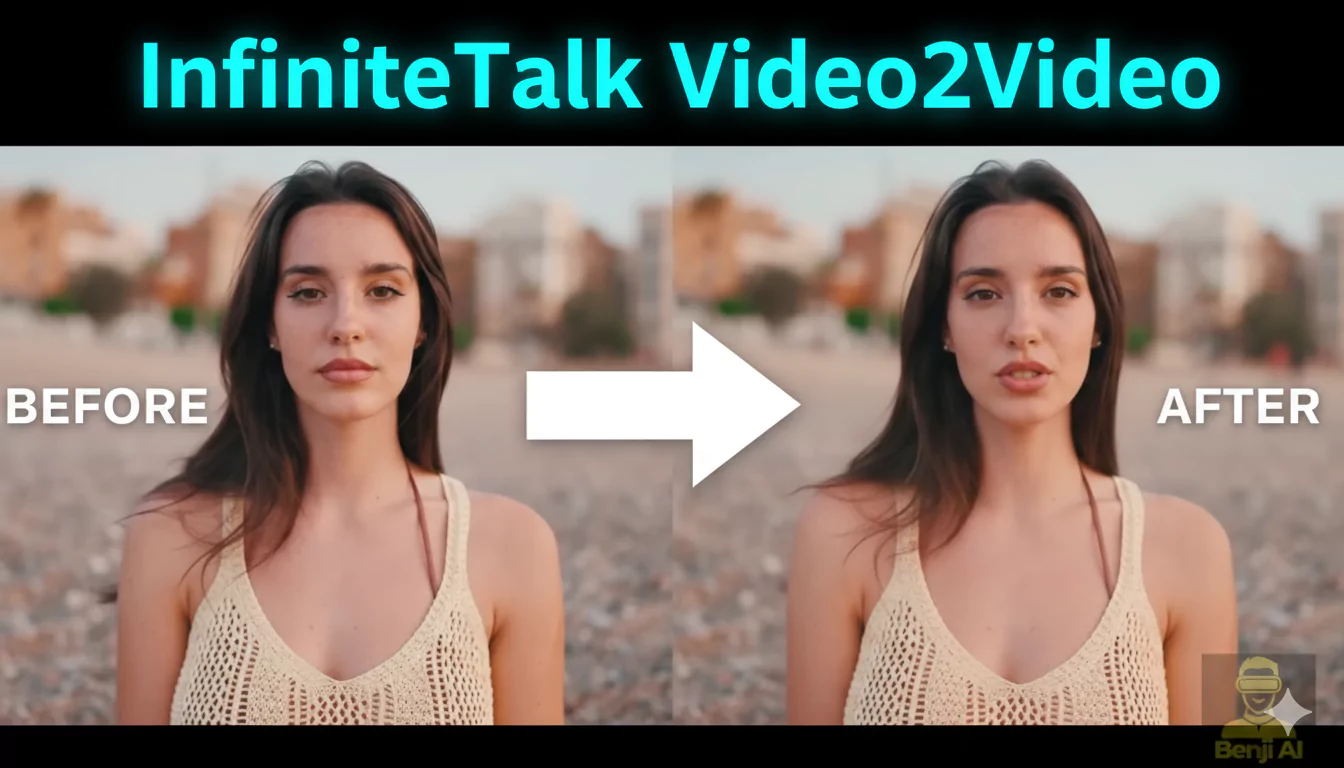
For example, I worked with a video where the original footage had very minimal facial expressions. After processing it with InfiniteTalk, every frame had smooth lip movements and expressions that looked completely natural.
Practical Use Cases
1. E-Commerce Product Videos
Many product videos feature models holding products but not speaking. Using InfiniteTalk, you can make those models talk with a customized script, promoting the product.
Example Workflow:
- Load a product demo video into the workflow.
- Add a voice-over or script promoting the product.
- The character's lips will be animated to match the speech.
Even if the original model isn't moving their lips at all, the tool creates smooth and synced movements that make it appear they are delivering the message.
2. Commercial and Marketing Videos
Video2Video is perfect for generating ads or social media clips. Imagine you have a video of someone walking and smiling. You can add a voice-over promoting a service, and InfiniteTalk will sync the lip movements and expressions to match.
Limitations and Glitches
While Video2Video is powerful, there are occasional issues:
- Color Fading: Sometimes, edges of characters fade slightly.
- Unexpected Objects: In rare cases, extra people or random objects may appear.
- Product Deformation: When a character is holding an object, it may slightly distort during animation.
Despite these minor issues, the lip sync and facial animations are usually smooth and accurate.
Step-by-Step Guide to Using InfiniteTalk Video2Video
Step 1: Load Your Video
- Place your video file in the Comfy UI input folder or provide the full file path.
- Switch the workflow from Image-to-Video mode to Video-to-Video mode.
Note: This workflow is based on the `ImageToVideo` model (v2.1).
Step 2: Select the Correct Model
- Use 1.2.1 I2V (ImageToVideo model).
- Some users mistakenly use the TextToVideo model, which causes errors.
- Ensure you are using the correct type for accurate results.
Step 3: Configure Audio Input
You have three ways to handle audio:
| Audio Input Type | Purpose |
|---|---|
| Text-to-Speech (TTS) | Use Chatterbox to generate speech from a script. |
| Pre-recorded Audio File | Upload MP3 or WAV files containing speech. |
| Generated Script via LLM | Automatically create a script using local language models like Olma. |
Switch Settings:
- Enable only the option you need.
- Disable others to avoid conflicts.
Step 4: Set Audio Scale for Lip Sync
Audio scale determines how expressive the mouth movements are:
- 1.0 – Subtle, minimal movement.
- 1.6 – Balanced, realistic motion.
- 2.0 – Very dramatic movements.
I recommend 1.6 for most projects.
Step 5: Define Video Dimensions
For portrait videos:
- Width: 720
- Height: 1028
These settings ensure the output matches the original video's orientation.
Step 6: Configure Sampling Steps
- Default sampling is 4 steps.
- Increase to 8 steps for smoother facial expressions and better overall quality.
Recommended Settings:
- Starting Step: 4
- Noise Level: 50%
- Total Steps: 8
Step 7: Frame and FPS Settings
- Set the total frames to match your source video.
- Double the FPS using frame interpolation for smoother playback.
Example: A 30 FPS video becomes 60 FPS after interpolation.
Step 8: Handle Audio and Video Length
If your audio is longer than the video:
- The video will loop back to the beginning, causing unnatural motion.
- To fix this, trim the audio to match the video length.
Step 9: Optional Upscaling
The workflow includes an optional upscaler:
- Seed RV2 by ByteDance
- Provides higher resolution but requires high VRAM.
If your system has low VRAM, disable this option.
Complete Workflow Overview
| Stage | Function |
|---|---|
| Video Load | Loads the original footage. |
| Initial Frame Extraction | Captures the first frame to initialize generation. |
| Audio Input Handling | Processes text, speech, or uploaded files. |
| Lip Sync Animation | Matches lip movements to audio. |
| Frame Interpolation | Smoothens motion by doubling FPS. |
| Upscaling (Optional) | Enhances video resolution if enabled. |
Sample Output Settings
| Setting | Value |
|---|---|
| Audio Scale | 1.6 |
| Sampling Steps | 8 |
| Starting Step | 4 |
| Width x Height | 720 x 1028 |
| FPS (Final) | 60 |
| VRAM Required (Upscaling) | High |
Tips for Best Results
- Always match audio length to video length for natural sync.
- Increase FPS for smoother animations.
- Keep sampling steps at 8 for higher quality.
- Test different audio scales to get the perfect lip sync effect.
Example Workflow: Podcast Style Video
Here's how I processed a portrait-style podcast video:
- Loaded the video into the workflow.
- Chose Text-to-Speech to generate audio from a script.
- Disabled pre-recorded audio input.
- Set video dimensions to 720 x 1028.
- Increased sampling steps to 8.
- Doubled the FPS to 60.
- Disabled the Seed RV2 upscaler to save VRAM.
The output was smooth, with perfectly synced lip movements and natural facial expressions.
Improving Video Quality
If your generated video looks rough:
- Increase sampling steps to improve facial detail.
- Adjust audio scale if lips seem unnatural.
- Use frame interpolation for smoother playback.
Final Output Example
The generated video:
- Maintains smooth motion throughout.
- Has accurate lip syncing.
- Features natural facial expressions like blinking and subtle wrinkles.
Even with occasional glitches, the overall result is highly usable for professional projects like commercials, marketing videos, and social media content.
Summary
InfiniteTalk Video2Video provides a powerful way to animate characters in existing videos, syncing them perfectly with custom audio or scripts.
By following this guide:
- You can turn static or non-talking characters into fully animated speakers.
- The step-by-step process ensures smooth, natural results.
- Adjustments like sampling steps, FPS, and audio scaling help you fine-tune the output.
This tool is practical for e-commerce businesses, video marketers, and anyone looking to create engaging content with talking characters.