InfiniteTalk Image to Video: Complete Step-by-Step Guide
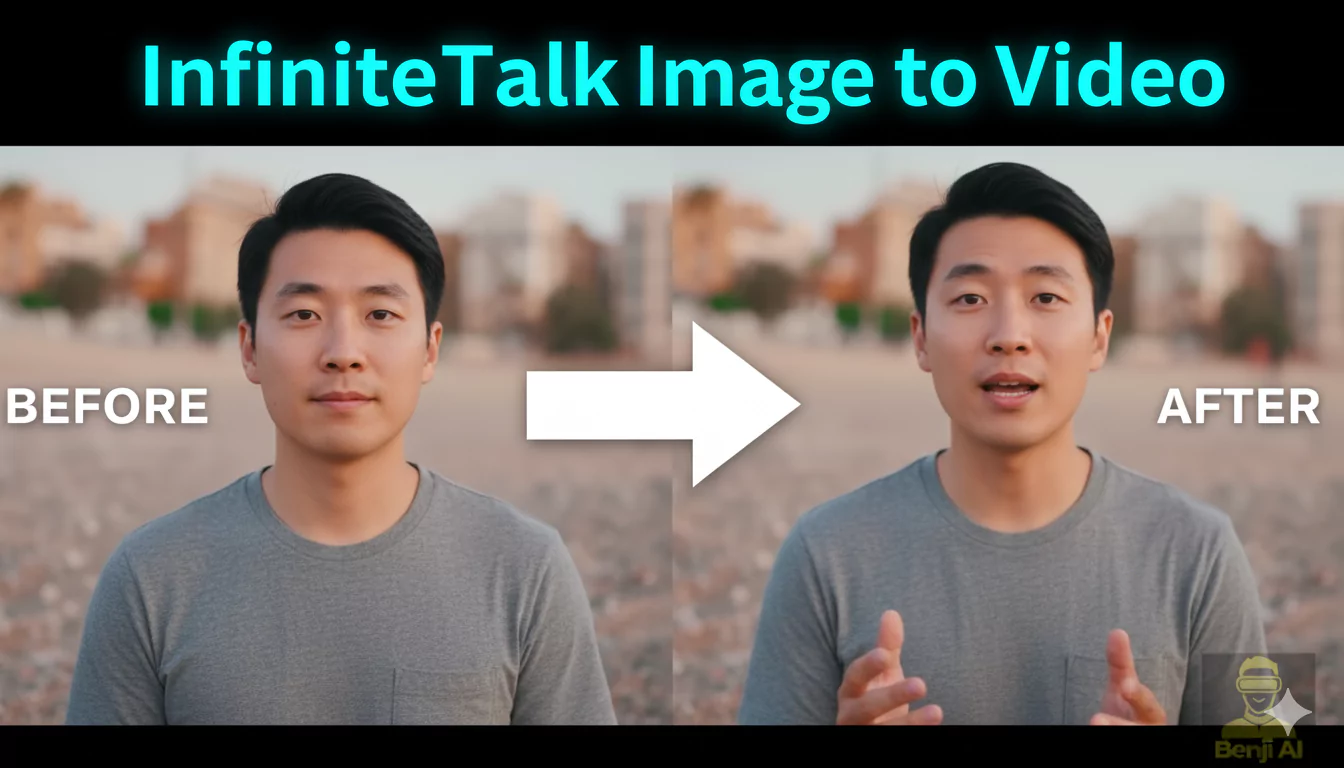
Creating a talking character from a single image is now possible with InfiniteTalk, an open-source audio-driven video generation model that works seamlessly inside ComfyUI. In this guide, I will walk you through the entire process step-by-step, explaining every detail so that you can generate a talking video using just one image and an audio file. By the end of this tutorial, you will have a complete understanding of how to set up and run InfiniteTalk for image-to-video generation.
Introduction to InfiniteTalk
InfiniteTalk is designed to convert a single still image into a moving, speaking character. It uses audio input to synchronize lip movements and facial expressions, producing a realistic talking video. Everything runs inside ComfyUI, a visual node-based interface for AI models.
The process involves:
- Setting up the workflow in ComfyUI.
- Downloading and placing all required model files.
- Preparing your image and audio file.
- Configuring parameters like frame rate and resolution.
- Generating the final video output.
Step 1: Download the Workflow and Load it into ComfyUI
The first step is to download the workflow file specifically designed for InfiniteTalk.
- Open ComfyUI on your system.
- Import the downloaded workflow file into ComfyUI.
- You might see a "some nodes are missing" warning.
- If this happens, click on "Install All Missing Nodes".
- Wait for ComfyUI to download and install the required nodes.
- Make sure you have ComfyUI Manager installed.
- ComfyUI Manager is essential for installing and managing nodes.
- Without it, you won't be able to automatically download missing nodes.
Once this is done, your workflow should display no red nodes, indicating that everything is installed correctly.
Step 2: Download the Required Model Files
InfiniteTalk requires five different model files to function properly. Each file must be placed in its correct folder inside the ComfyUI directory.
Here's a detailed list of the models and their file sizes:
| Model | File Size | ComfyUI Folder |
|---|---|---|
| Image-to-Video Diffusion Model | ~16 GB | `ComfyUI/models/diffusion_models` |
| Audio-to-Video Diffusion Model | ~2.6 GB | `ComfyUI/models/diffusion_models` |
| Clip Vision Model | ~1.2 GB | `ComfyUI/models/clip_vision` |
| Text Encoder | ~6.5 GB | `ComfyUI/models/text_encoders` |
| VAE (Variational Autoencoder) | ~0.25 GB | `ComfyUI/models/vae` |
Steps to Download and Organize Models:
- Download the first model: Image-to-Video Diffusion Model (~16 GB).
- Place it in the folder:
ComfyUI/models/diffusion_models
- Place it in the folder:
- Download the second model: Audio-to-Video Diffusion Model (~2.6 GB).
- Place it in the same `diffusion_models` folder.
- Download the third model: Clip Vision Model (~1.2 GB).
- Place it in:
ComfyUI/models/clip_vision
- Place it in:
- Download the fourth model: Text Encoder (~6.5 GB).
- Place it in:
ComfyUI/models/text_encoders
- Place it in:
- Finally, download the VAE file (~0.25 GB).
- Place it in:
ComfyUI/models/vae
- Place it in:
Once all files are correctly placed, ComfyUI will recognize them and load them automatically.
Step 3: Prepare Your Image
Now it's time to choose the image you want to animate. This image will become the talking character in your video.
- For this tutorial, I used an image with a resolution of 832x480.
- You will need to input these dimensions into the Width and Height nodes in ComfyUI.
If your image has a different resolution:
- Check your image's dimensions.
- Enter the exact width and height values into the workflow nodes.
Step 4: Upload Your Audio File
The audio file drives the lip-sync and movements of your character.
- Upload your audio file in ComfyUI.
- Locate the Audio Crop Node.
- Set the audio end time to match the exact length of your audio file.
- This ensures the video duration matches the audio perfectly.
For example, if your audio is 19 seconds long, set the end time to 19 seconds.
Step 5: Configure the Number of Frames
The next step is to set the number of frames for your video.
How to Calculate Frames:
The formula is:
Video Length (in seconds) × Frame Rate = Total Frames
Example:
- If your video is 19 seconds long and your frame rate is 25 FPS:
19 × 25 = 475
- Enter 475 into the Multi-Infinite Talk Wave2Vec Embeds Node.
Step 6: Add a Prompt
InfiniteTalk allows you to input a text prompt to guide the generation.
- Keep your prompt short and simple.
- Avoid unnecessary complexity.
Step 7: Start the Video Generation
Once all settings are configured, you are ready to generate the video.
- Click Run in ComfyUI.
- The first time you generate a video, the Wave2Vec Model will be automatically downloaded.
- This happens only once, so be patient while it downloads.
- After the download, the generation process will begin.
Step 8: Understand Processing Speed
The processing speed depends on your GPU and the video length.
- On an RTX 3090, it takes approximately 1 minute per second of video.
- Example:
- A 19-second video took 19 minutes and 6 seconds to generate.
Keep this in mind when planning longer videos.
Final Output
When the process is complete:
- You will have a video file where your selected image speaks the provided audio.
- The lip movements and expressions will match the audio file, creating a natural speaking effect.
Troubleshooting Tips
Here are a few common issues you might encounter and how to fix them:
| Issue | Possible Solution |
|---|---|
| Missing nodes error | Click Install All Missing Nodes and wait for installation to complete. |
| Models not loading | Check if all models are in their correct folders as listed earlier. |
| Video not matching audio length | Double-check the Audio End Time in the crop node. |
| Output video looks distorted | Ensure the Width and Height values match your image resolution. |
Summary of Steps
Here's a quick recap of the entire workflow:
- Download the workflow and load it into ComfyUI.
- Install missing nodes if prompted.
- Download and organize the five required model files:
- Image-to-video diffusion model
- Audio-to-video diffusion model
- Clip vision model
- Text encoder
- VAE
- Prepare your image and set its resolution in ComfyUI.
- Upload your audio file and set the correct end time.
- Calculate total frames using the formula:
Video Length × Frame Rate = Total Frames
- Enter the frame count into the workflow node.
- Add a simple prompt for generation.
- Click Run to generate your video.
- Wait for the Wave2Vec model to download (only required the first time).
- Allow the generation process to complete.
Performance Notes
- Hardware Requirements:
- GPU with at least 16GB VRAM recommended.
- Faster GPUs will significantly reduce processing time.
- Storage Space:
- Make sure you have enough storage, as the models themselves require over 25 GB of space.
- Video Quality:
- For higher resolution videos, ensure that your GPU can handle the increased workload.
Future Possibilities
This tutorial covers single-image-to-video generation. However, InfiniteTalk also supports:
- Multiple people talking in a single video.
- Video-to-video generation, where an existing video is used as a base.
These features require additional setup and workflows, which can be explored later once you are comfortable with the single-image workflow.
Conclusion
By following this guide, you can transform any single image into a talking character using InfiniteTalk inside ComfyUI. The process involves setting up the workflow, downloading and organizing model files, preparing your image and audio, and configuring parameters like frame rate and total frames.
With patience and careful setup, you can generate high-quality talking videos directly on your own machine. This is a powerful tool for creating engaging content using only a still image and an audio track.